

Build a Jamstack Blog with Next.js & Ghost CMS
Get started quickly with a robust Jamstck blog that's ready to grow with you.


The purpose of this guide is to get you up and running as quickly as possible with a robust Jamstack blog that's ready to grow with you.
Our final product will be skeletal and austere but fully functional.
No time for a detailed walkthrough? Just wanna skim the source code?
You can grab the final product we'll be building over on my GitHub. Have fun!
Introducing the Van Gogh Stack
OK I'll admit it's silly, but I needed a catchy name so hear me out:
Vercel + Next.js + Ghost CMS + Heroku = VNGH (read: "Van Gogh")
The Van Gogh Stack is one of my favorite combos for quickly constructing Jamstack sites.
It uses Ghost as a headless CMS deployed on Heroku, which is then plugged into a Next.js front end hosted on Vercel.
It is 100% free to host and deploy, but note that Heroku will want credit card info, as you will see.
Prerequisites
This guide assumes that you've already been convinced that the Jamstack is the coolest!
If not, check out my article A Clueless Newbie's Guide to Headless CMS & the Jamstack and its companion piece, What Happens When Your Jamstack Blog Grows Up?
You should be familiar with JavaScript, React, and how to work with REST APIs.
Experience with Next.js or a similar framework would be helpful, but if this is your first Next.js project you will come out on the other side with a nice playground for learning and tinkering.
You don't need prior experience with Ghost, but it will make more sense if you've worked with other content management systems (especially headless) before.
You need to know enough about git to push code to GitHub.
Getting to Know Our Stack
Ghost CMS
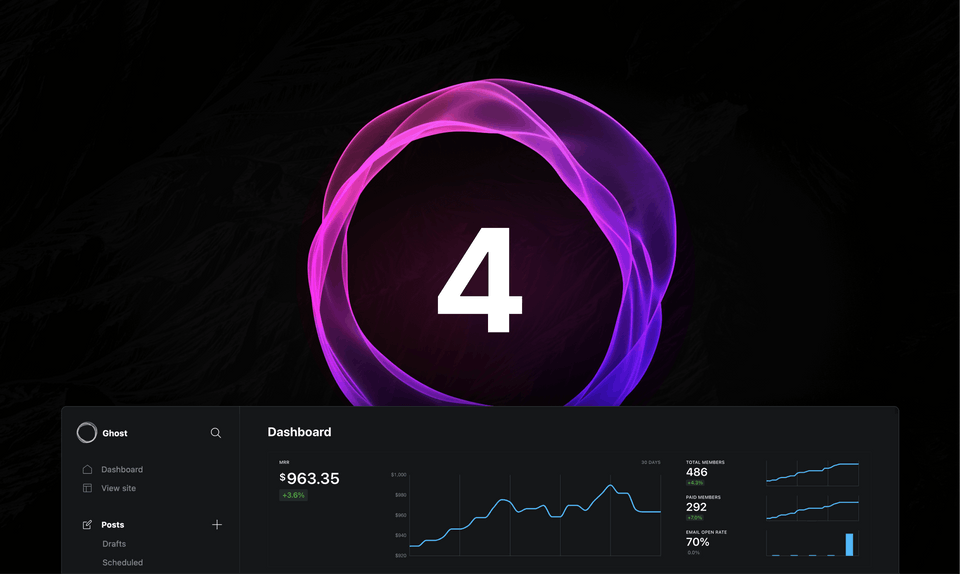
Ghost is one of the most popular headless CMS options out there today. Version 4 was released in March 2021. The most recent version as I'm writing this is 4.5.0.
I like Ghost because:
it's built with Node.js
it's open-source and free to use as a developer
it has a great UI that's easy to configure and hand off to clients
as a self-hosted CMS, I don't have to worry about price increases or breaking changes to the API - which can happen with CaaS ("Content as a Service") providers who host your content for you
it could not be easier to deploy on Heroku - one click is all we need!
By default, Ghost ships with server-side rendered templates built using the Handlebars templating language. If you're in a rush to start publishing and that sounds cool to you, then you honestly don't even need to worry about most of this tutorial! Just deploy your Ghost blog to Heroku, pick a template and you're ready to roll.
Handlebars is cool in its own right, but we want to be able to harness the full power of React via Next.js.
Next.js
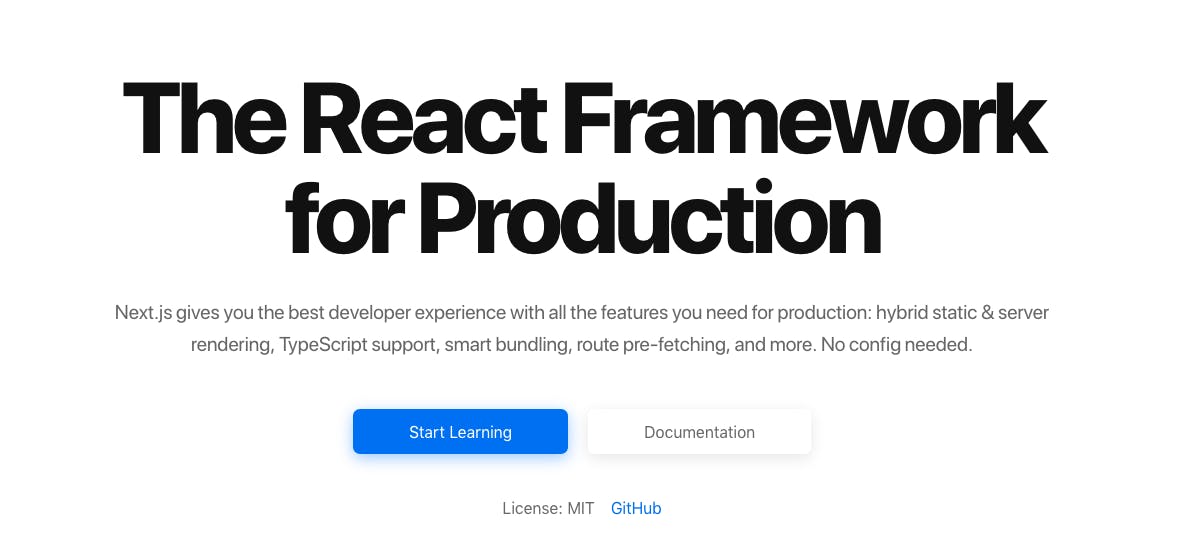
Next.js is quickly becoming the most popular React-based framework for production.
Some of the things that make Next especially cool include:
hybrid client-side and server-side rendering
intuitive file-system-based routing
the ability to spin up an API endpoint without a (traditional) back-end
and so much more that I continue to learn with each new project!
Next.js was created by Vercel, which offers Jamstack-oriented hosting solutions. Version 10 was released in October 2020; the most recent version as I'm writing this is 10.2.
Set Up Heroku
To get started, set up an account with Heroku.
As soon as you're in, go ahead and click this beautiful button here:
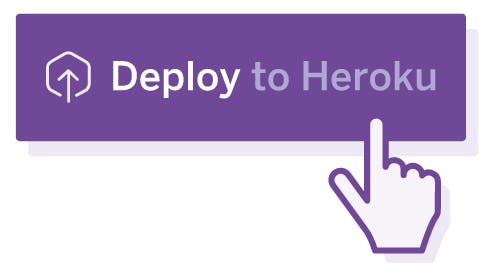
(This deployment button was made possible by Lovekesh Kumar. Thank you, Lovekesh Kumar!)
The deployment button will direct you to a page that looks like this:
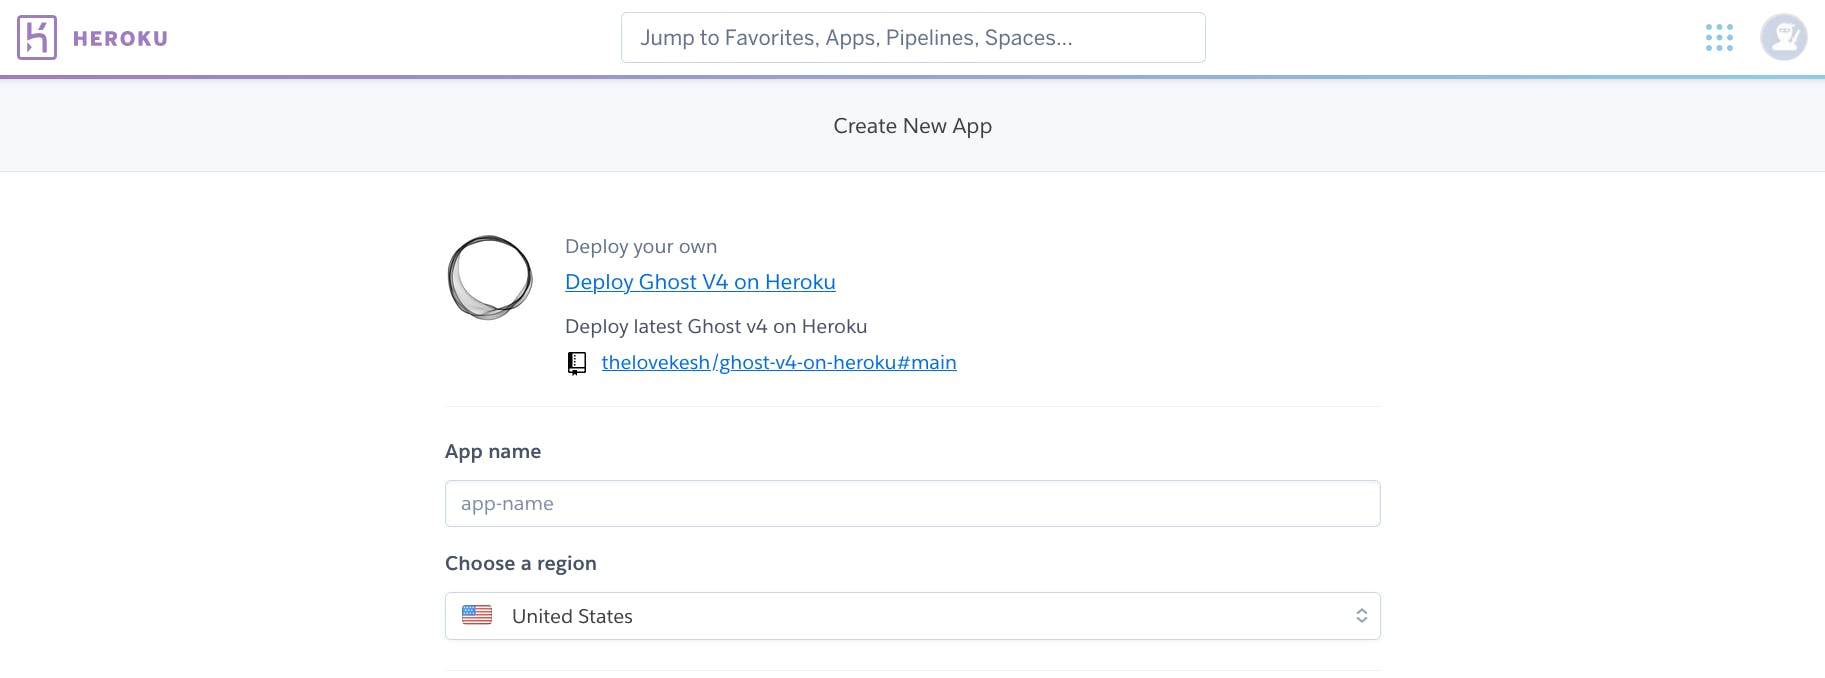
Choose a name for your app - this won't be especially important, so don't worry if you can't get the exact name you'd like.
As you scroll down the page, you will be presented with many configuration variables. The only one you need to fill out is the APP_PUBLIC_URL as seen here:
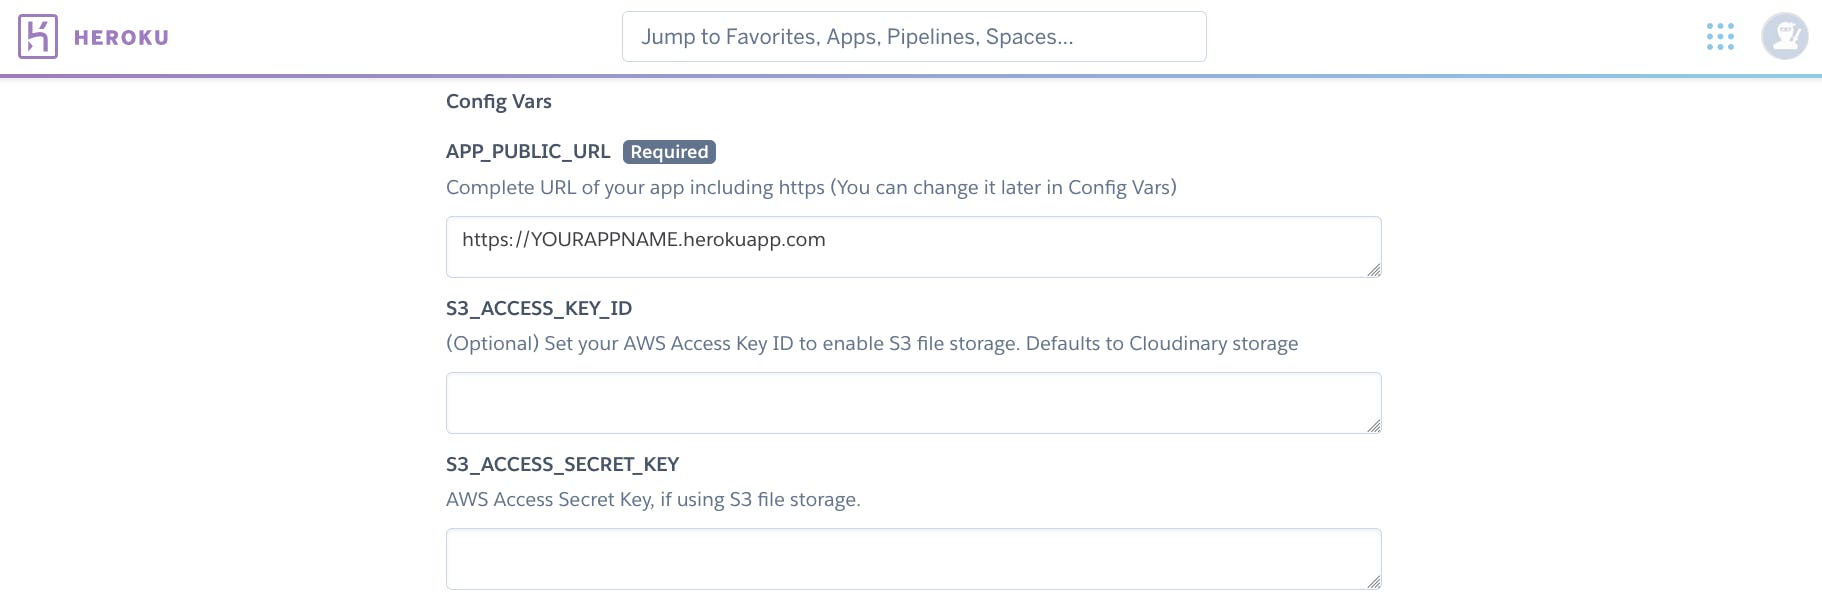
This URL determines the future domain of your CMS. Change YOURAPPNAME to whatever you like in https://YOURAPPNAME.herokuapp.com.
Don't be fooled by the word PUBLIC there - you will eventually make this URL private.
Once you've filled out these two fields, scroll to the bottom of the page and click Deploy app. It may take a few minutes while Heroku builds the CMS.
Note: if this is your first Heroku app, you will be asked to provide credit card information. I don't love it either, but their free tier is generous enough that you may not ever need to scale up to a paid plan even if you're seeing pretty significant traffic - that's part of the magic of the Jamstack.
And if you ever do need to scale up, Ghost's documentation recommends adding a content delivery network (CDN) into your stack rather than upgrading your CMS hosting (which should not be necessary). CDN integration is beyond the scope of this guide; just know that it is an option.
Once the build is complete, you're pretty much done with the H in VNGH.
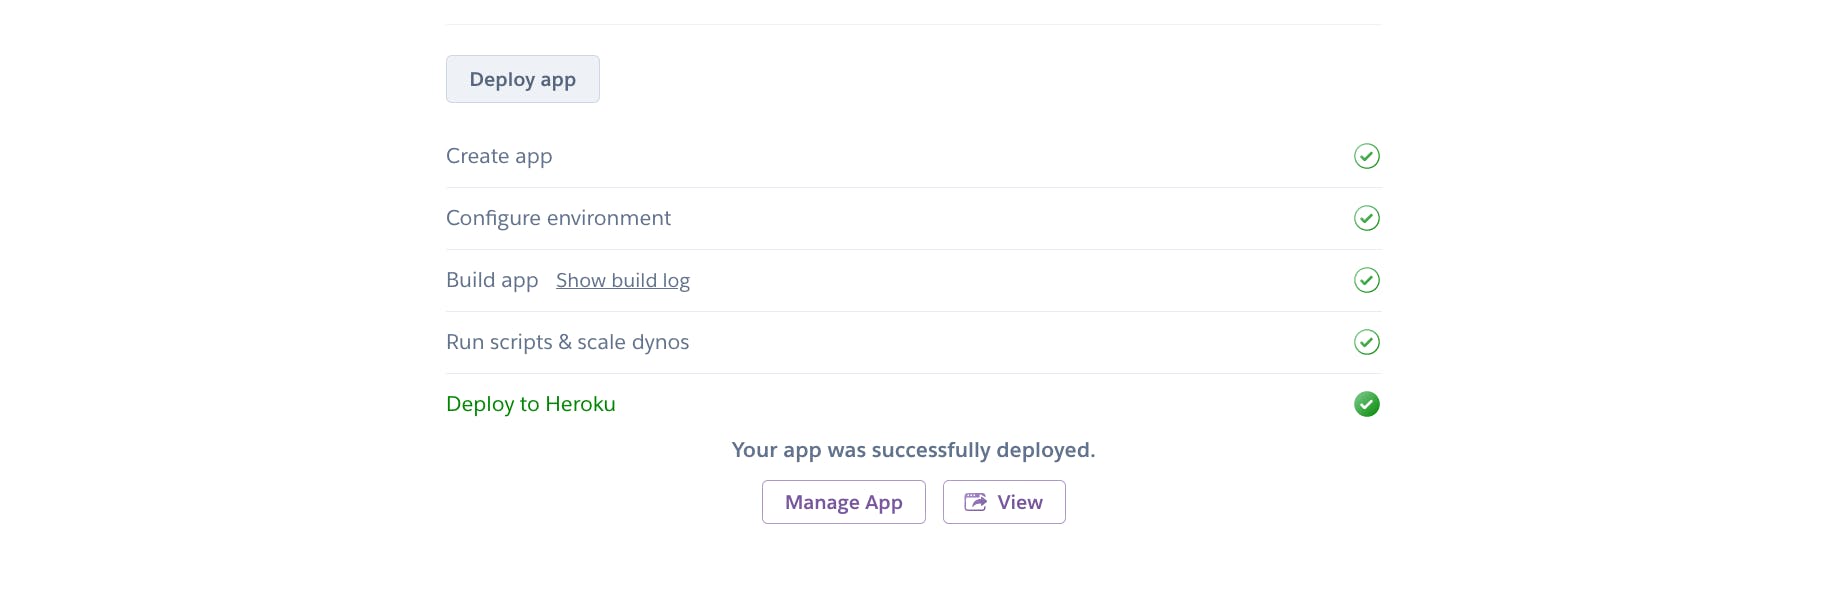
One down, three to go.
Configure Ghost
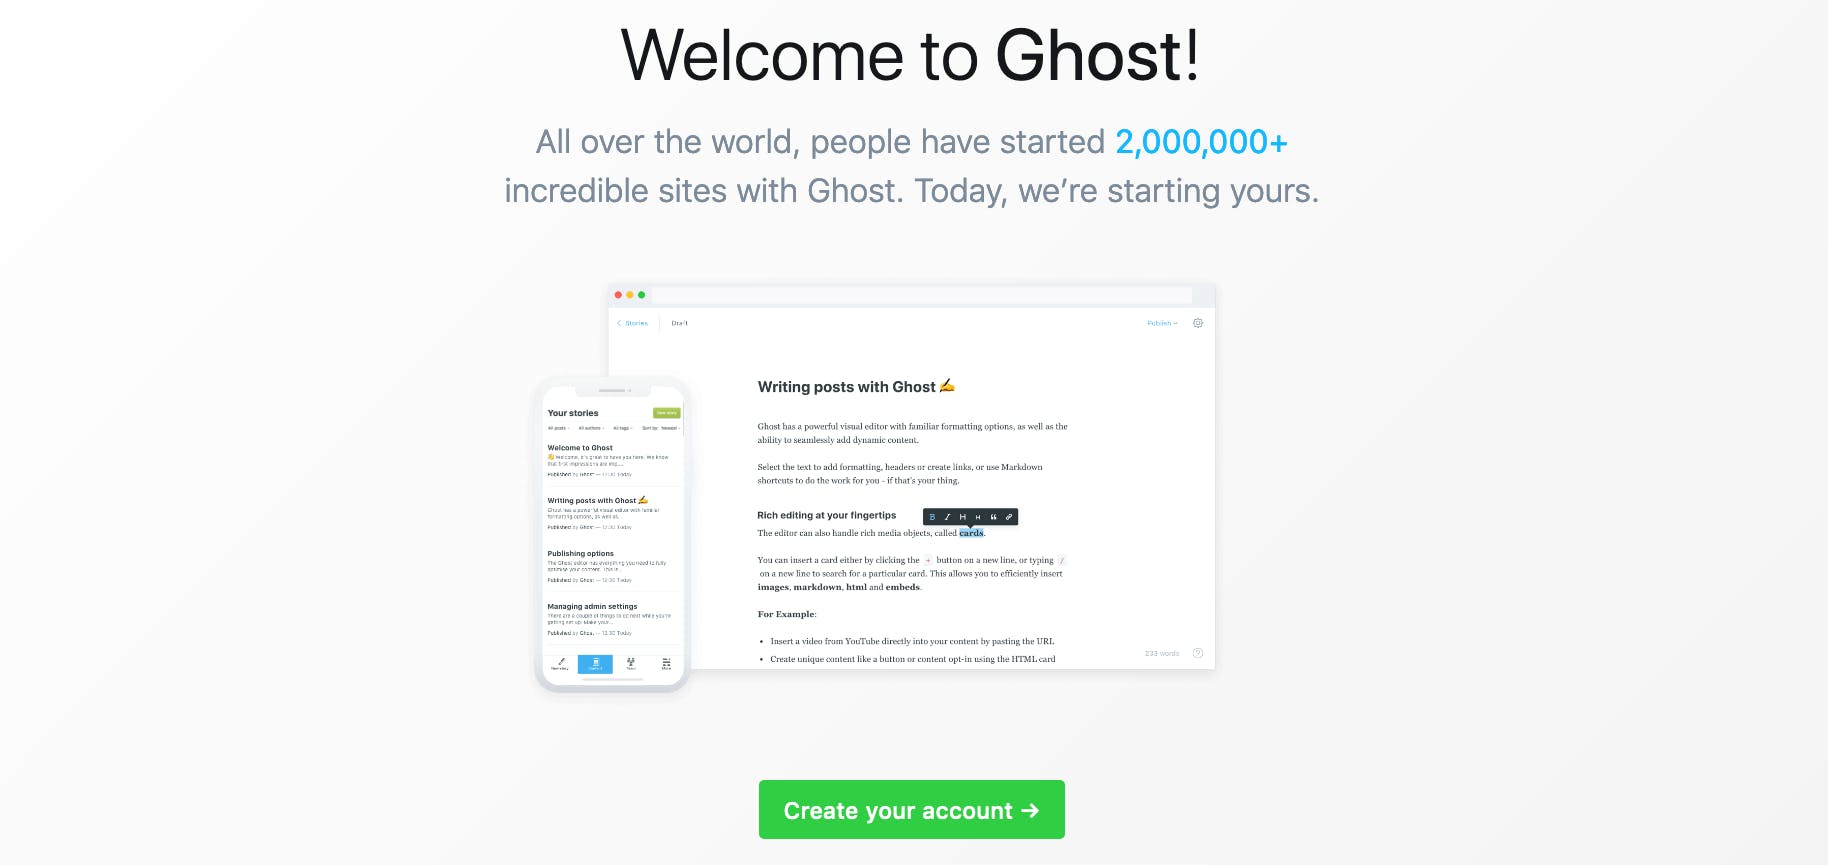
Now you can navigate to https://YOURAPPNAME.herokuapp.com/ghost/ to get your CMS up and running.
The first time you visit this page, you will be prompted to complete the installation:
After you've registered, you'll land on your shiny new Ghost CMS admin panel when visiting this same URL. It will look something like this:
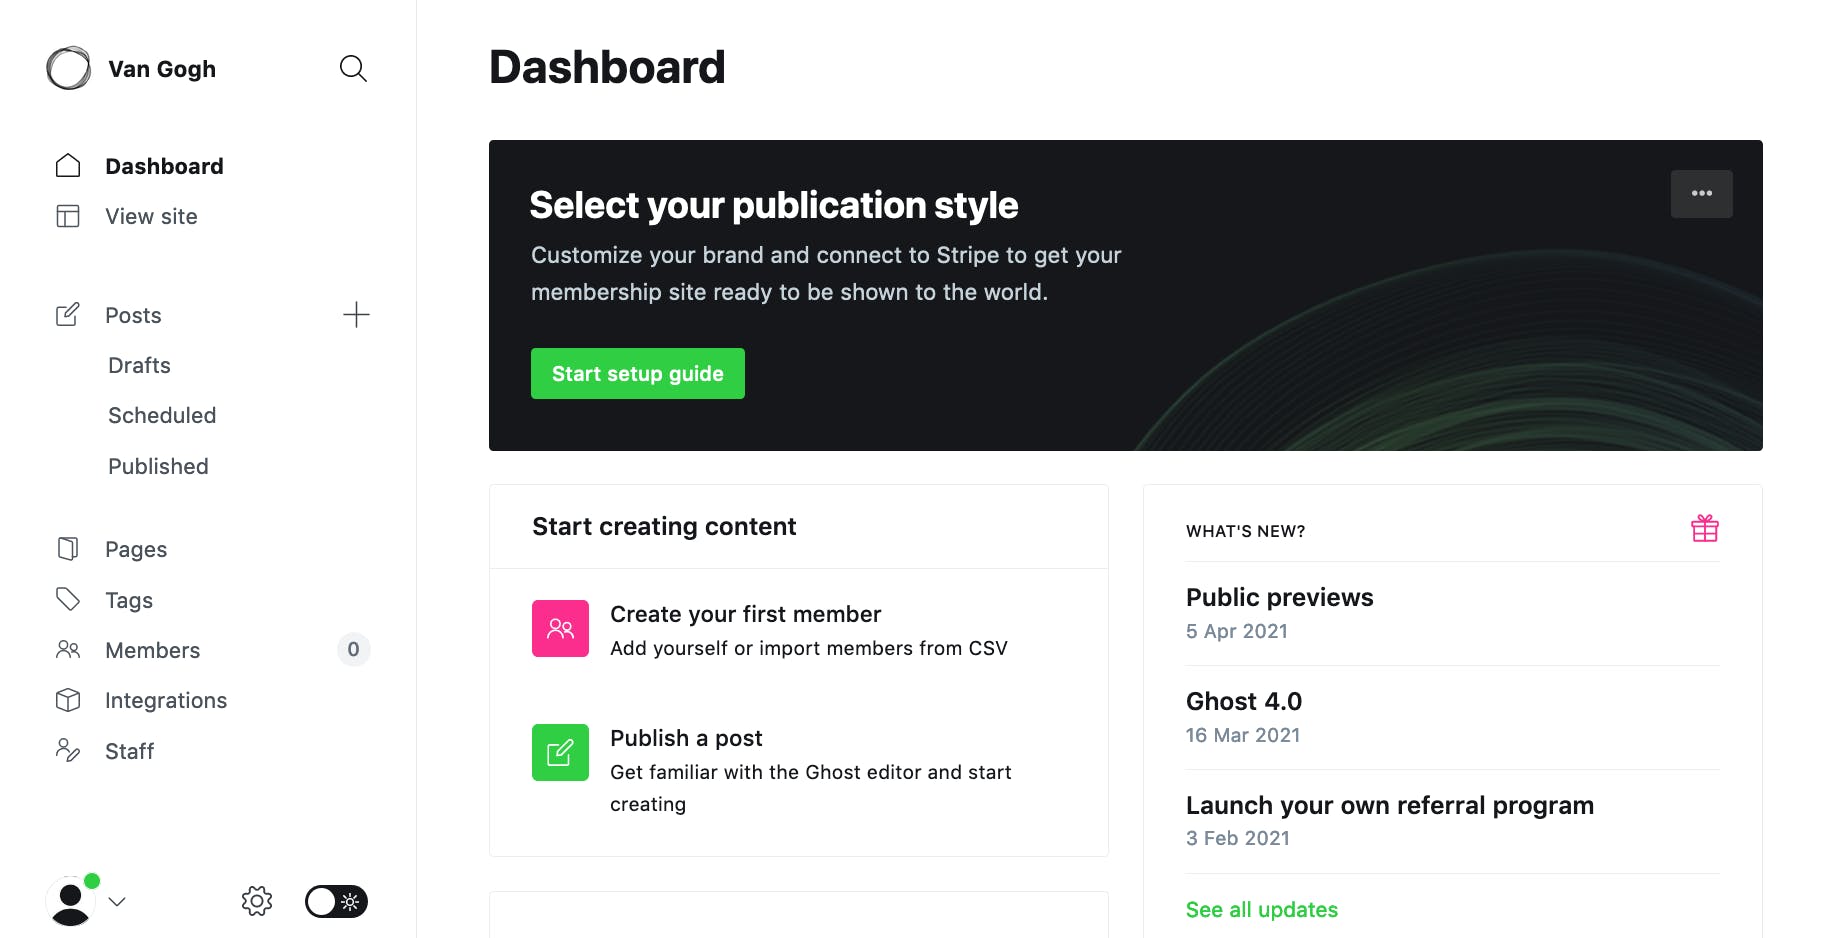
As mentioned before, Ghost comes pre-packaged with Handlebars templates to render your posts on the server. But since you are planning to go headless, it really doesn't matter what the server-side template looks like, because you won't actually be serving that up to your visitors. Don't worry about the design here.
The basic installation includes a set of dummy posts that will save us the trouble of making our own to test our connection to Next.js, once we get there. We will return to the Ghost admin panel at the very end to delete all of these in one click.
Set CMS to Private
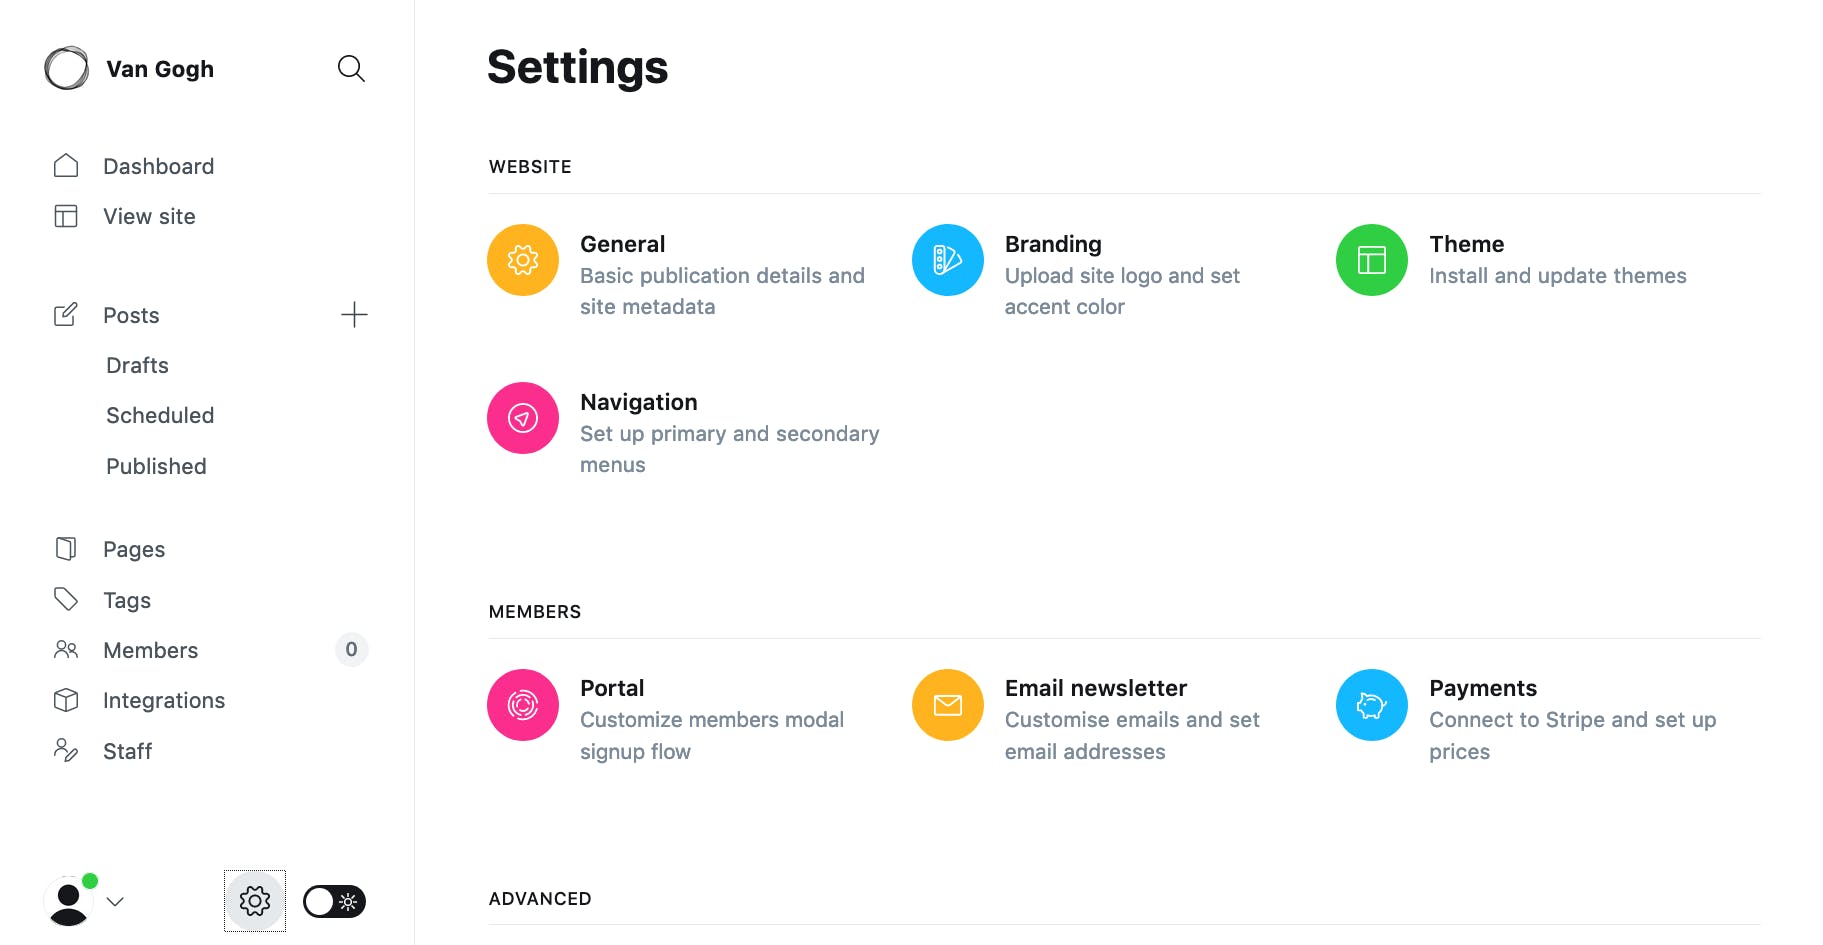
Click on the cog in the bottom left corner of the admin panel to open up Settings. Click on General.
Scroll to the bottom of this page, where you will find Advanced Settings. Next to "Make this site private", set the toggle to the 'on' position.
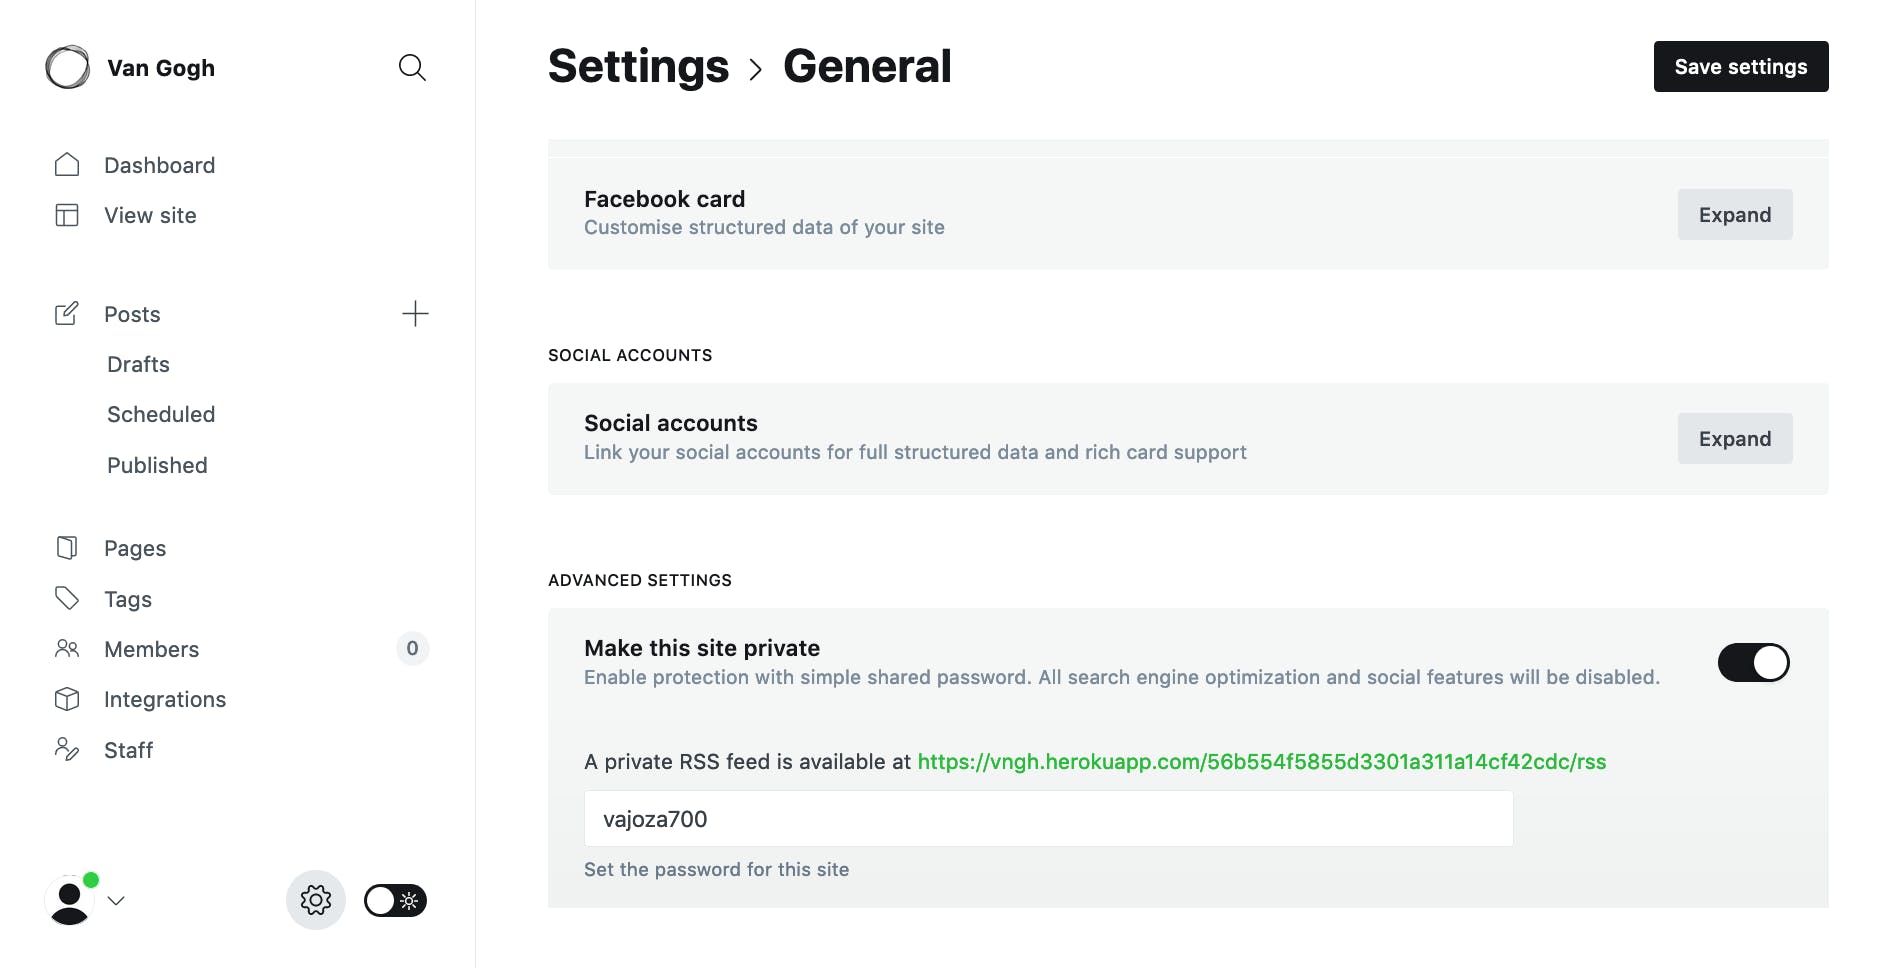
This will automatically generate a private RSS feed for you. Don't worry about this part.
Click Save settings in the top right corner.
Note: Setting your CMS to private will not have any effect on the visibility of your future front end - since we are using Ghost as a headless CMS, these settings only apply to the Heroku app where the CMS lives. Making the CMS private ensures that Google won't get it mixed up with your canonical front end and start sending people to the back end of your site instead.
Add Custom Integration for API Key
In order for Ghost to communicate with your Next.js front end (coming soon!), you will need to be able to access its API.
Back on the admin panel, click on Integrations and scroll down to the bottom of the page. Click on the + Add custom integration button:
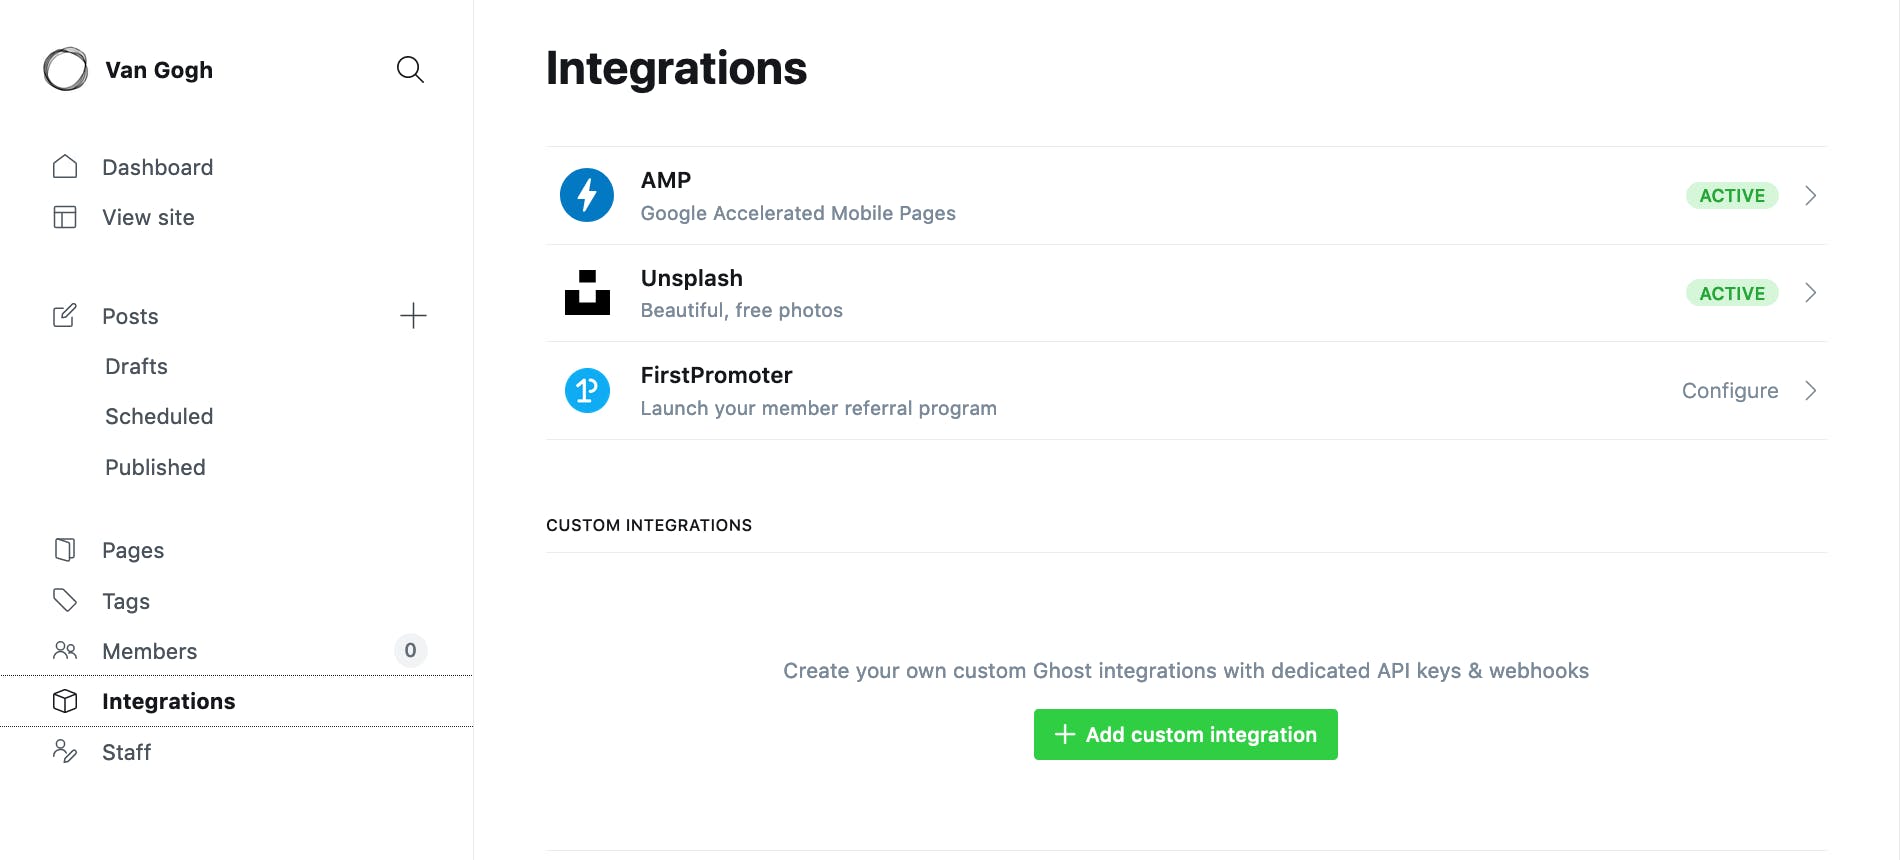
Give the integration any name you want. After you submit a name, you'll be given three important bits of information - but you really only need to worry about two:
Content API Key - you will pass this string to Next.js to grab content from your CMS
API URL - you will need this to specify where the content is coming from
Stash this information somewhere safe for now.
And that's all it takes to configure Ghost. You're halfway there already! Pretty painless so far, right?
Build Next.js App
If you encounter any trouble during this stage in development, I would highly recommend referring to the official Next.js documentation, which is very thorough and well written. This will be a broad overview that assumes you're already familiar with the key features of Next.js.
Create a New Project
Fire up your terminal, cd to the folder where you want to create a new app, and run one of the following commands:
npx create-next-app
# or
yarn create next-app
Note: Unless explicitly specified via the --use-npm flag, create-next-app defaults to Yarn.
You will be asked to give the project a name before the necessary packages begin downloading.
After installation is complete, you can cd into the new app's folder and run yarn dev or npm run dev to start up the local development environment at http://localhost:3000.
create-next-app ships with a default landing page that looks like this:
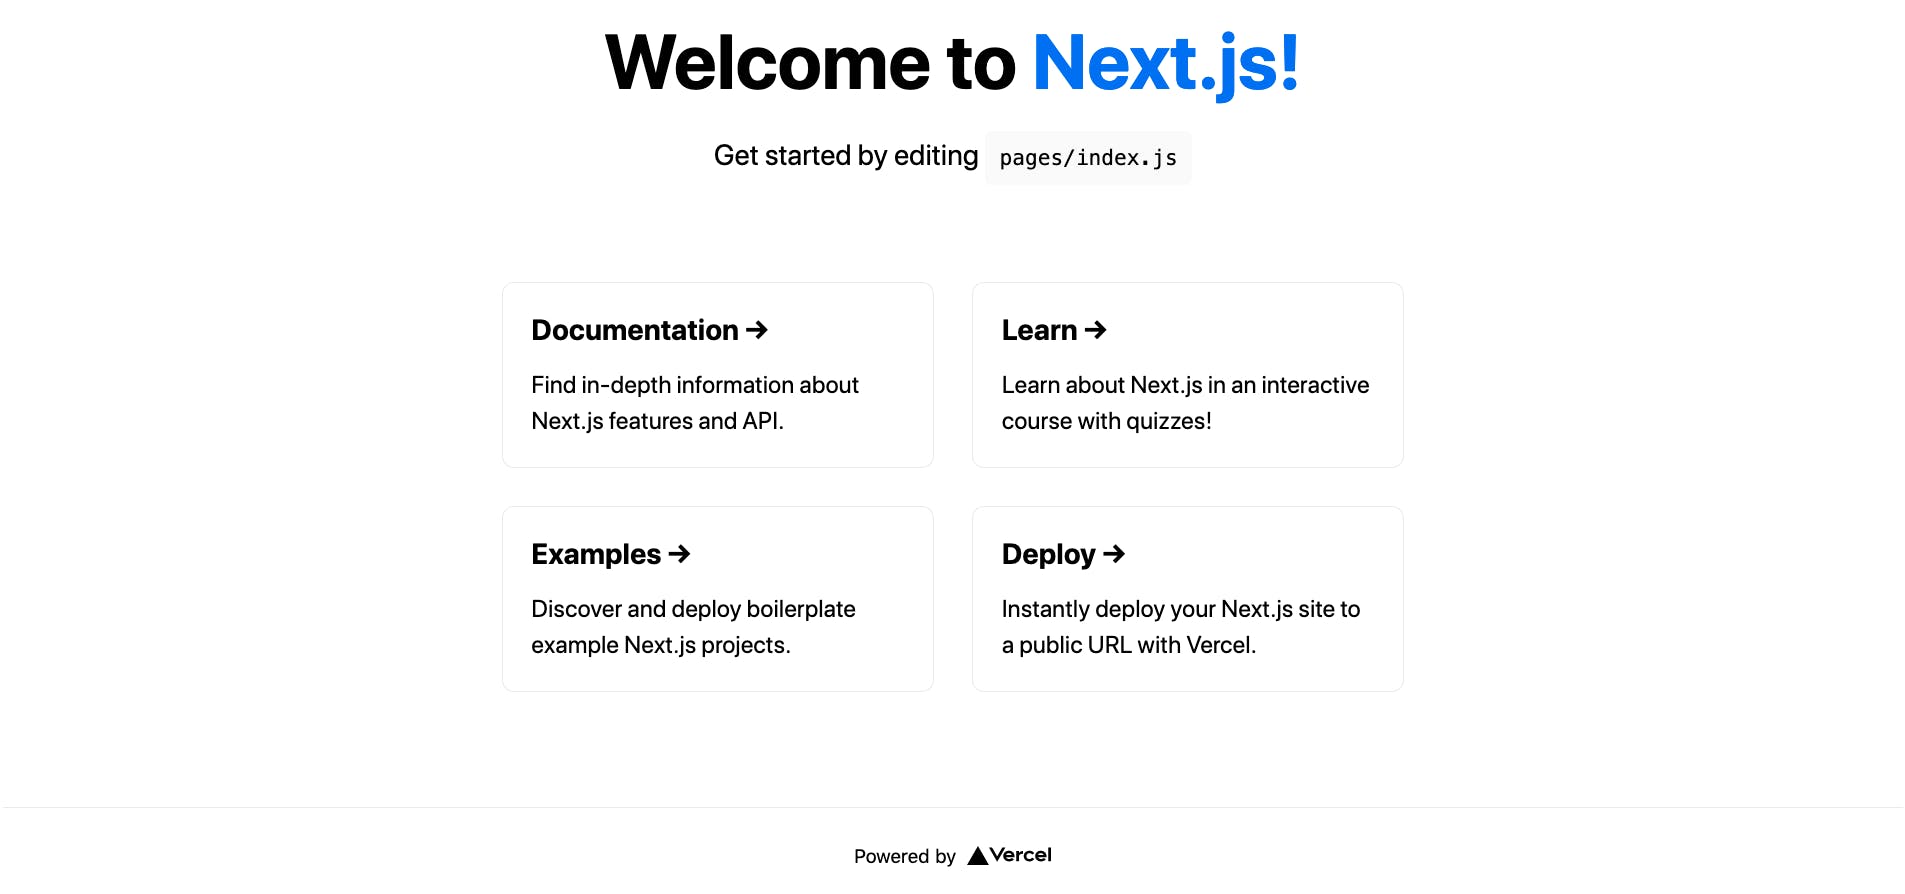
Yeehaw! We're making good progress now.
Open the Next.js project folder in your IDE and let's do some coding already!
To simplify the process of receiving data from Ghost, install the official JavaScript Ghost Content API helper by running:
yarn add @tryghost/content-api
# or
npm install @tryghost/content-api
According to Ghost's documentation:
The library can be used in any JavaScript project, client or server side and abstracts away all the pain points of working with API data.
Click here for more details.
Accessing Content Data
Create a new folder in the root directory and call it lib.
Inside lib, create a new file called functions.js. This file will hold the functions needed to pull in content data from Ghost.
These files and folders can be named whatever you like, but it's a good idea to keep this
functions.jsfile separate from yourpagesdirectory to prevent it from getting mixed in with content as your project grows.
Paste the following code into functions.js:
// lib/functions.js

import GhostContentAPI from '@tryghost/content-api'

// Create API instance with site credentials
const api = new GhostContentAPI({
  url: process.env.GHOST_URL,
  key: process.env.GHOST_API_KEY,
  version: 'v4',
});
This snippet imports the GhostContentAPI and creates a new instance of it that gets stored in the const named api. This is how your Next app knows to talk to your Ghost CMS to get its content.
Environment Variables
url and key refer to your API URL and API Content URL from your Ghost custom integration. To bring these into the project securely, let's add a new file in the root directory called .env.local - note the leading period in the name.
This file stores the environment variables that need to stay secret. If, on the other hand, you were to insert these variables directly into the code, they would be visible to anyone reading your site's source code. This could potentially open up your API to malicious bots that roam the internet looking for exactly this kind of thing to exploit.
Environment variable support is built in to Next.js. It should be automatically covered by the default.gitignore file, but it's worth double-checking to make sure you don't accidentally push any .env files to GitHub.
When it's time to deploy the front end, you will give these secret keys directly to Vercel so that they never need to be exposed in your code.
Inside .env.local add the following snippet - be sure to replace the placeholders with your unique keys:
// .env.local
GHOST_URL=https://YOURAPPNAME.herokuapp.com // Replace with your API URL
GHOST_API_KEY=r4nd0mstr1ng0fch4rz // Replace with your Content API Key
After you save this file, be sure to kill & restart your dev server running at localhost:3000 so these changes will take effect.
Fetch and Display All Blog Posts
Now that the front end is connected to the CMS, let's create an async function to fetch all posts from Ghost. It will be exported from lib/functions.js so it can be used anywhere in the app.
Return to lib/functions.js and insert this snippet after the const api declaration:
// lib/functions.js

// Grab all posts from Ghost
export async function getPosts() {
  return await api.posts
    .browse({
      limit: "all",
    })
    .catch((err) => {
      console.error(err);
    });
}
To recap, lib/functions.js should now look like this:
// lib/functions.js

import GhostContentAPI from '@tryghost/content-api'

// Create API instance with site credentials
const api = new GhostContentAPI({
  url: process.env.GHOST_URL,
  key: process.env.GHOST_API_KEY,
  version: "v4",
});
})

// Grab all posts from Ghost
export async function getPosts() {
  return await api.posts
    .browse({
      limit: "all",
    })
    .catch((err) => {
      console.error(err);
    });
}
The posts.browse() endpoint accessed by getPosts() has many parameters to choose from, but this boilerplate setup will be sufficient to get started.
Next, let's give index.js a makeover so it will display a list of all blog posts.
Clear out all of the existing starter markup and replace it with the following:
// pages/index.js

import { getPosts } from "../lib/functions";
import Link from "next/link";

const Index = (props) => (
  <ul>
    {props.posts.map((post) => (
      <li key={post.id}>
        <Link href={`/posts/${post.slug}`}>
          <a>{post.title}</a>
        </Link>
      </li>
    ))}
  </ul>
);

export default Index;

export async function getStaticProps(context) {
  const posts = await getPosts();

  if (!posts) {
    return {
      notFound: true,
    };
  }

  return {
    props: { posts },
    revalidate: 1,
  };
}
Let's break down what this code is doing, in brief:
importthegetPostsfunction you just wrote as well as Next'sLinkcomponentrender a component that receives post data and maps it to a list
getStaticProps()tells Next to generate this page at build timerevalidateallows for incremental static regeneration by enabling Next to regenerate the page 1 second after a request comes in - this is one of the breakthroughs of the Next.js framework that enables it to efficiently add dynamic content to otherwise "static" sites
Now when you visit localhost:3000 you should see something like this:
Almost done! Next.js is now fetching and rendering a list of all blog posts from Ghost - BUT, the links in the list don't actually lead anywhere yet.
That's because we still need to call in the individual post data from the API, and then tell Next.js how to handle it. Let's do that now.
Fetch and Display Each Individual Blog Post
Returning to lib/functions.js, add the following function below the getPosts() function:
// lib/functions.js

// Grab each individual post from Ghost
export async function getSinglePost(postSlug) {
  return await api.posts
    .read({
      slug: postSlug,
    })
    .catch((err) => {
      console.error(err);
    });
}
Recapping once more, your lib/functions.js should now look like this:
// lib/functions.js

import GhostContentAPI from "@tryghost/content-api";

// Create API instance with site credentials
const api = new GhostContentAPI({
  url: process.env.GHOST_URL,
  key: process.env.GHOST_API_KEY,
  version: "v4",
});

// Grab all posts from Ghost
export async function getPosts() {
  return await api.posts
    .browse({
      limit: "all",
    })
    .catch((err) => {
      console.error(err);
    });
}

// Grab each individual post from Ghost
export async function getSinglePost(postSlug) {
  return await api.posts
    .read({
      slug: postSlug,
    })
    .catch((err) => {
      console.error(err);
    });
}
This getSinglePost function operates similarly to getPosts but accesses the posts.read() API endpoint.
Moving over to the pages directory, create a new folder named posts.
Inside of the new posts folder, create a new file and name it [slug].js.
The brackets in
[slug].jsare necessary to tell Next.js to treat this as a dynamic route. Learn more about dynamic routes here.
Paste the following code into [slug.js]:
// pages/posts/[slug].js

import { getSinglePost, getPosts } from "../../lib/functions";

const PostPage = (props) => {
  return (
    <div>
      <img src={props.post.feature_image} />
      <h1>{props.post.title}</h1>
      <div dangerouslySetInnerHTML={{ __html: props.post.html }} />
    </div>
  );
};

export default PostPage;

export async function getStaticPaths() {
  const posts = await getPosts();

  // Get the paths we want to create based on posts
  const paths = posts.map((post) => ({
    params: { slug: post.slug },
  }));

  // "fallback: false" gives us a 404 if post not found
  return { paths, fallback: false };
}

// Pass the page slug to "getSinglePost()" function
// Which then passes it to "posts.read()" to query the GhostContentAPI
export async function getStaticProps(context) {
  const post = await getSinglePost(context.params.slug);

  if (!post) {
    return {
      notFound: true,
    };
  }

  return {
    props: { post },
    revalidate: 1,
  };
}
This is the final piece of the puzzle to bring full functionality to the blog:
Import
getSinglePost&getPostsfunctions fromfunctions.jsRender a component that displays a blog post's featured image, title, and HTML content
Create the slugs based on post data
Tell
getSinglePostto go get the post that corresponds to the given slug, which then queries theGhostContentAPIfor it
A note on
dangerouslySetInnerHTML- the name is intended to be a reminder that this can be a dangerous way to operate. That said, this is the preferred way to render Ghost's content, and there's little risk of cross-site scripting attacks here.
At this point, all of the necessary code is in place locally for Next.js to retrieve blog posts and content from Ghost. If we click on any of the list items we should be taken to the corresponding dummy post.
Hey! It's a blog!
If you get hung up at any point while setting up Next.js, make sure that your directory names, slugs, props, and routing all line up correctly. I've tried to keep this demo project as skeletal as possible while still setting you up for an organized environment as you build it out from here.
We're approaching the finish line now, and the final step is really more like a victory lap after the marathon of setting up Next.js!
If you haven't yet, set up a new git repo for the project and push the code to GitHub now.
Deploy on Vercel
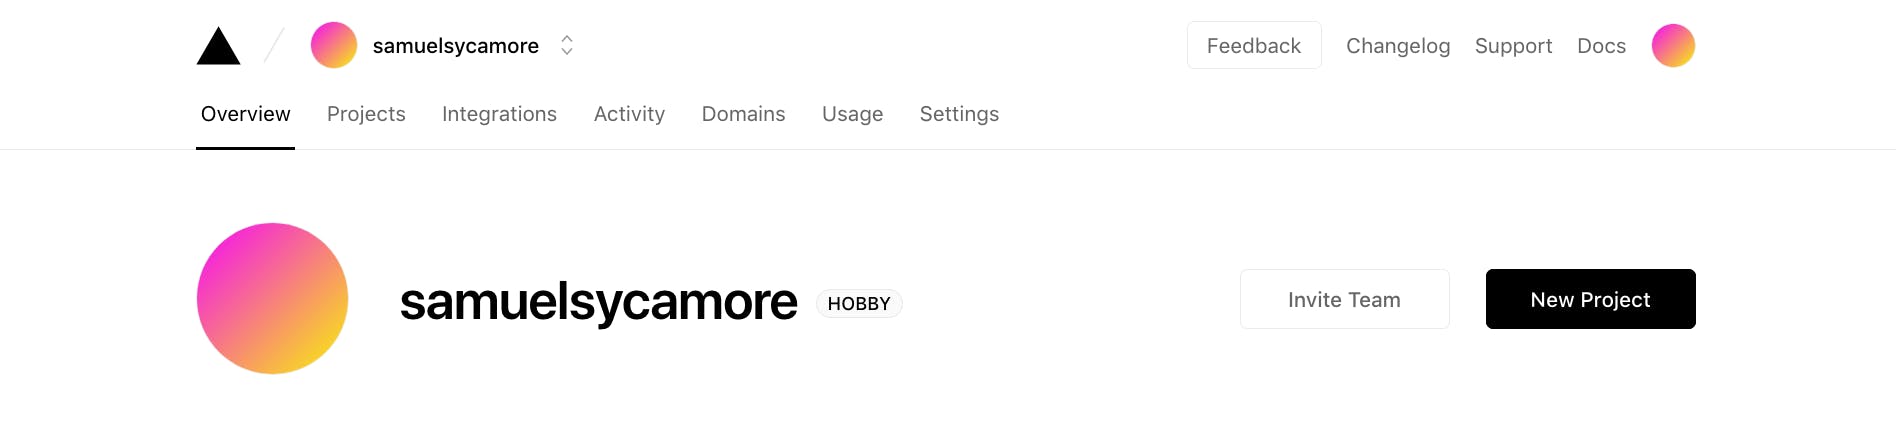
Now is the time to sign up for an account with Vercel if you don't have one.
Once you're in, click on the New Project button on the right side of the dashboard.
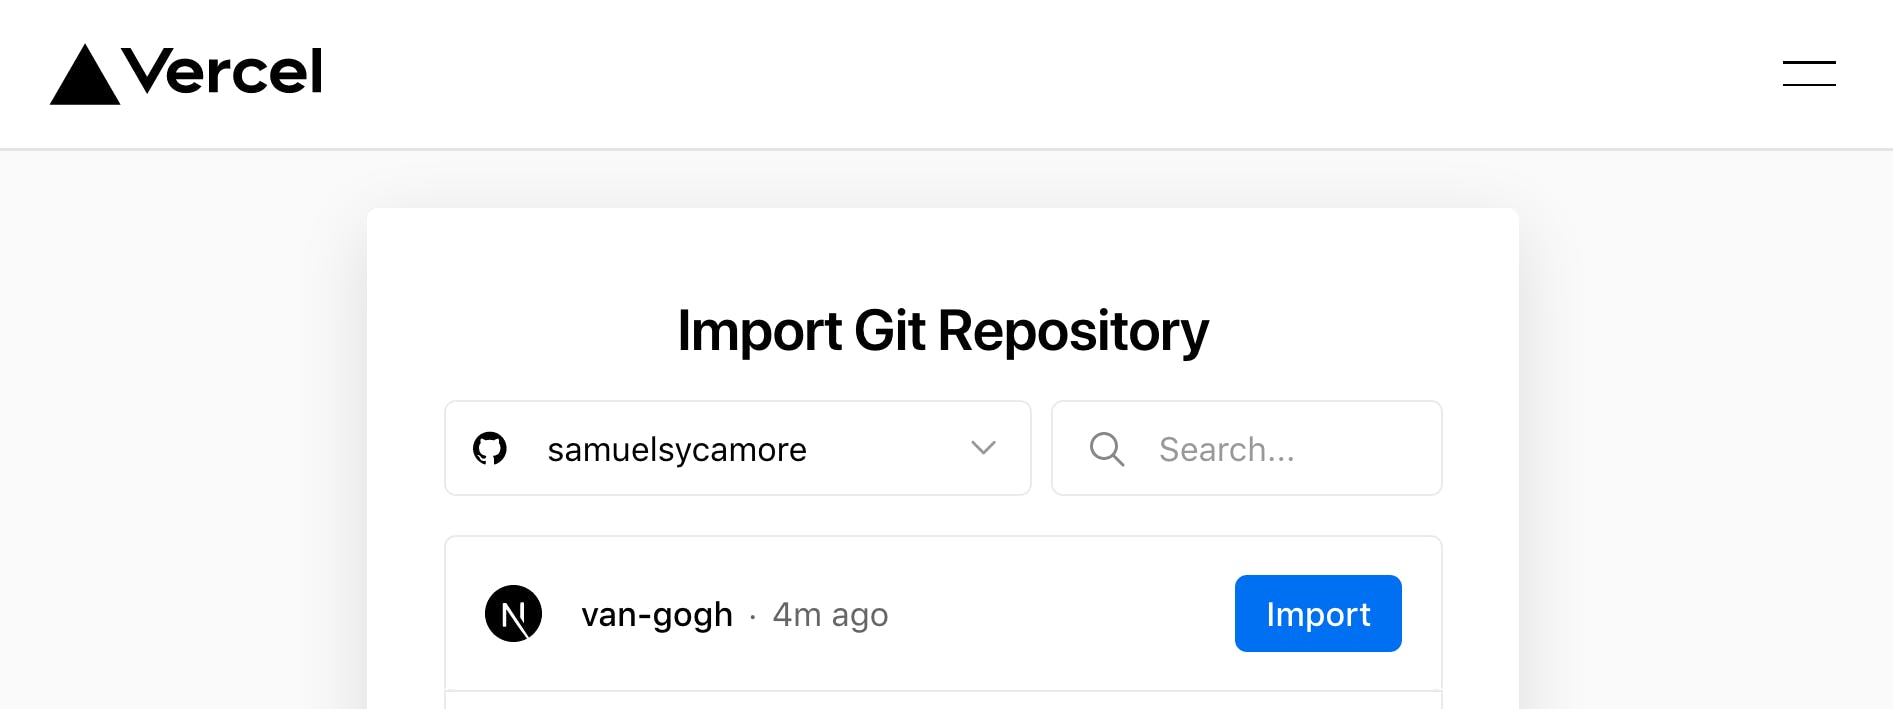
Select the repo from your GitHub account:
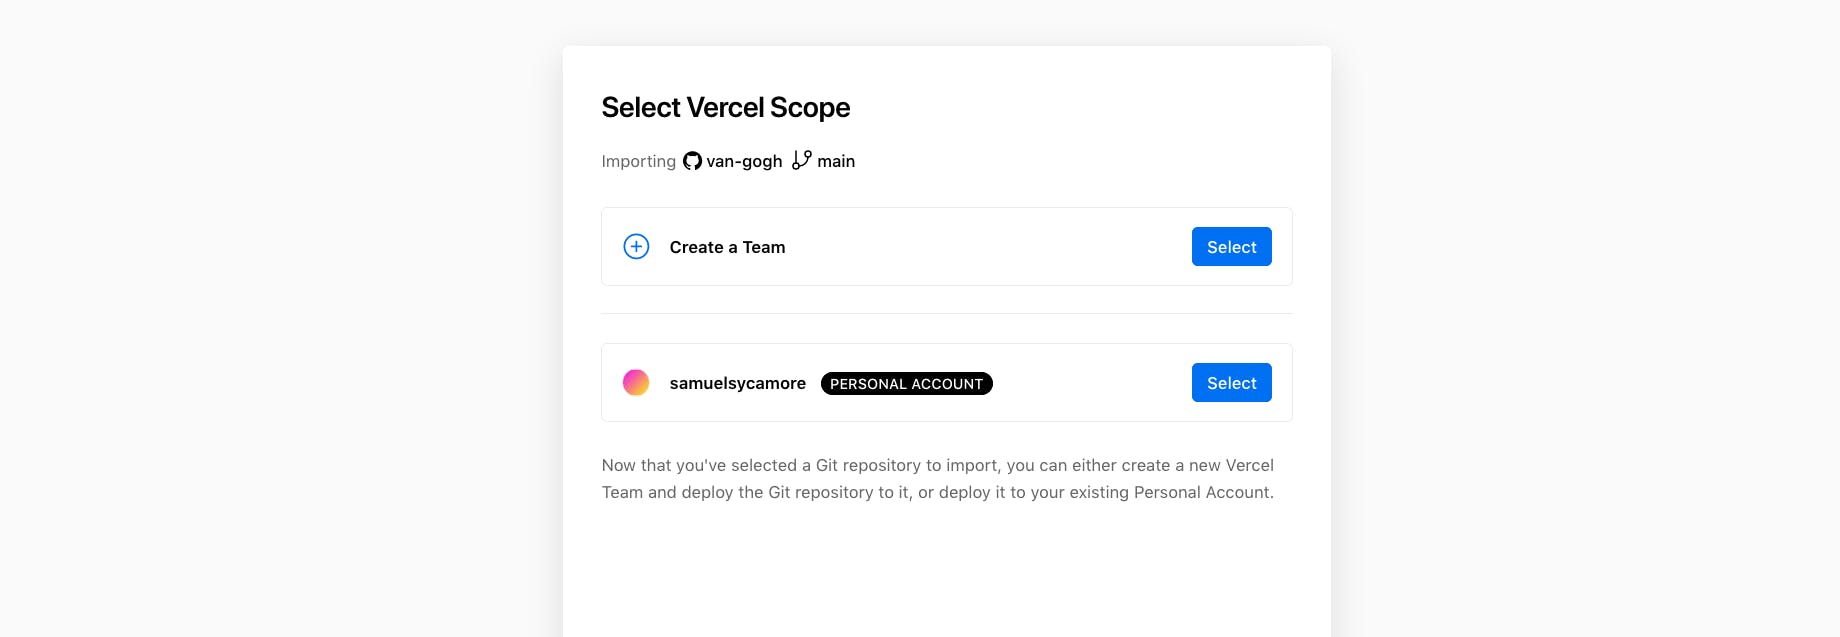
On the Select Vercel Scope menu, select your account:
On the Import Project menu, expand the Environment Variables dropdown:
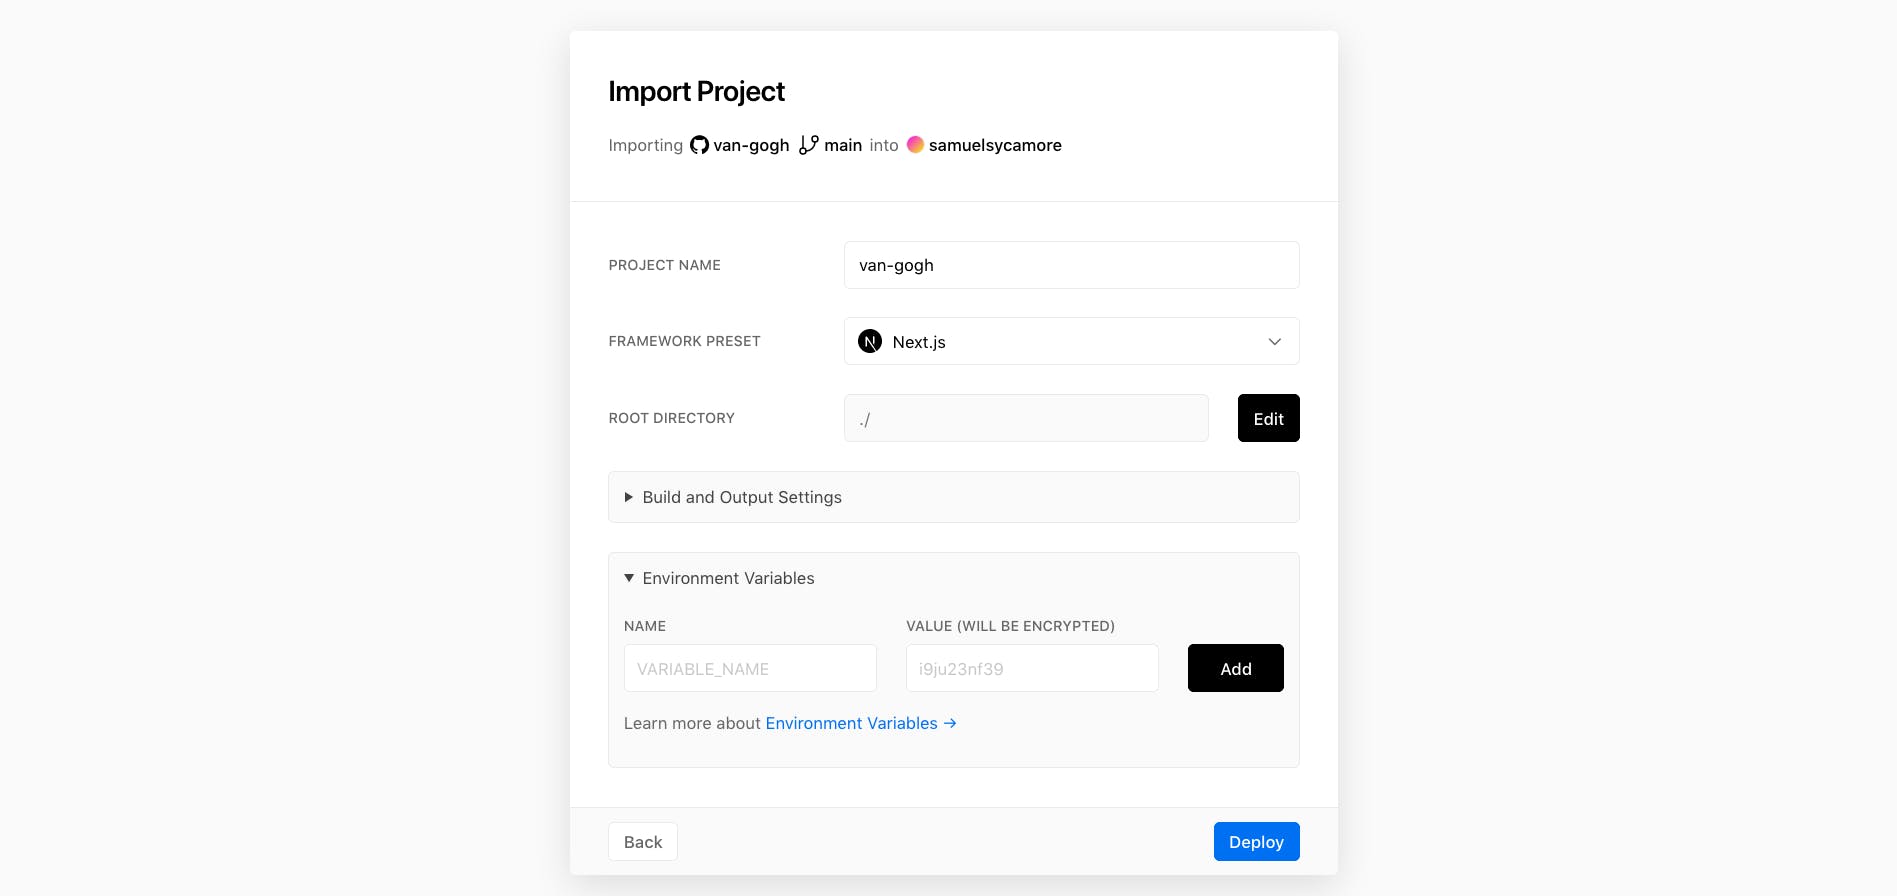
This is where you give Vercel your two secret keys from your .env.local file.
If all goes according to plan, your site should build and deploy in no time:
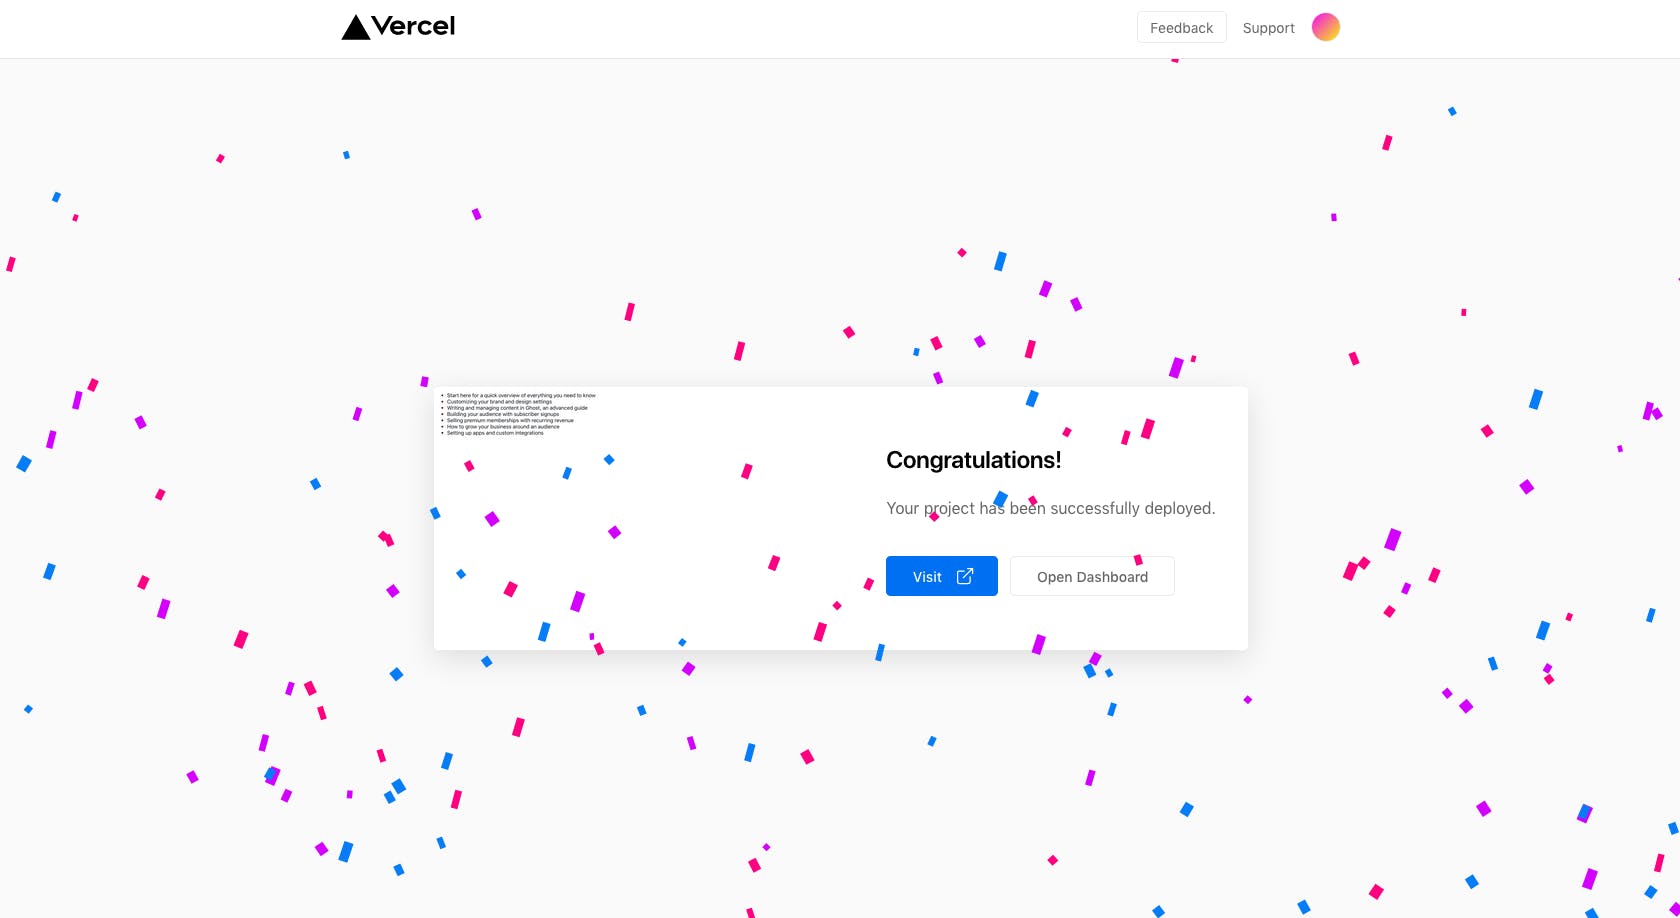
Congratulations indeed!
You just launched a fully functional blog using the Van Gogh Stack!
It's not much to look at just yet - we won't be playing with CSS here - but the sky's the limit!
Epilogue: Kill the Ghost
When you're ready to create your own content and eliminate the dummy posts from Ghost, make your way back to the Ghost CMS admin panel on Heroku, at https://YOURAPPNAME.herokuapp.com/ghost.
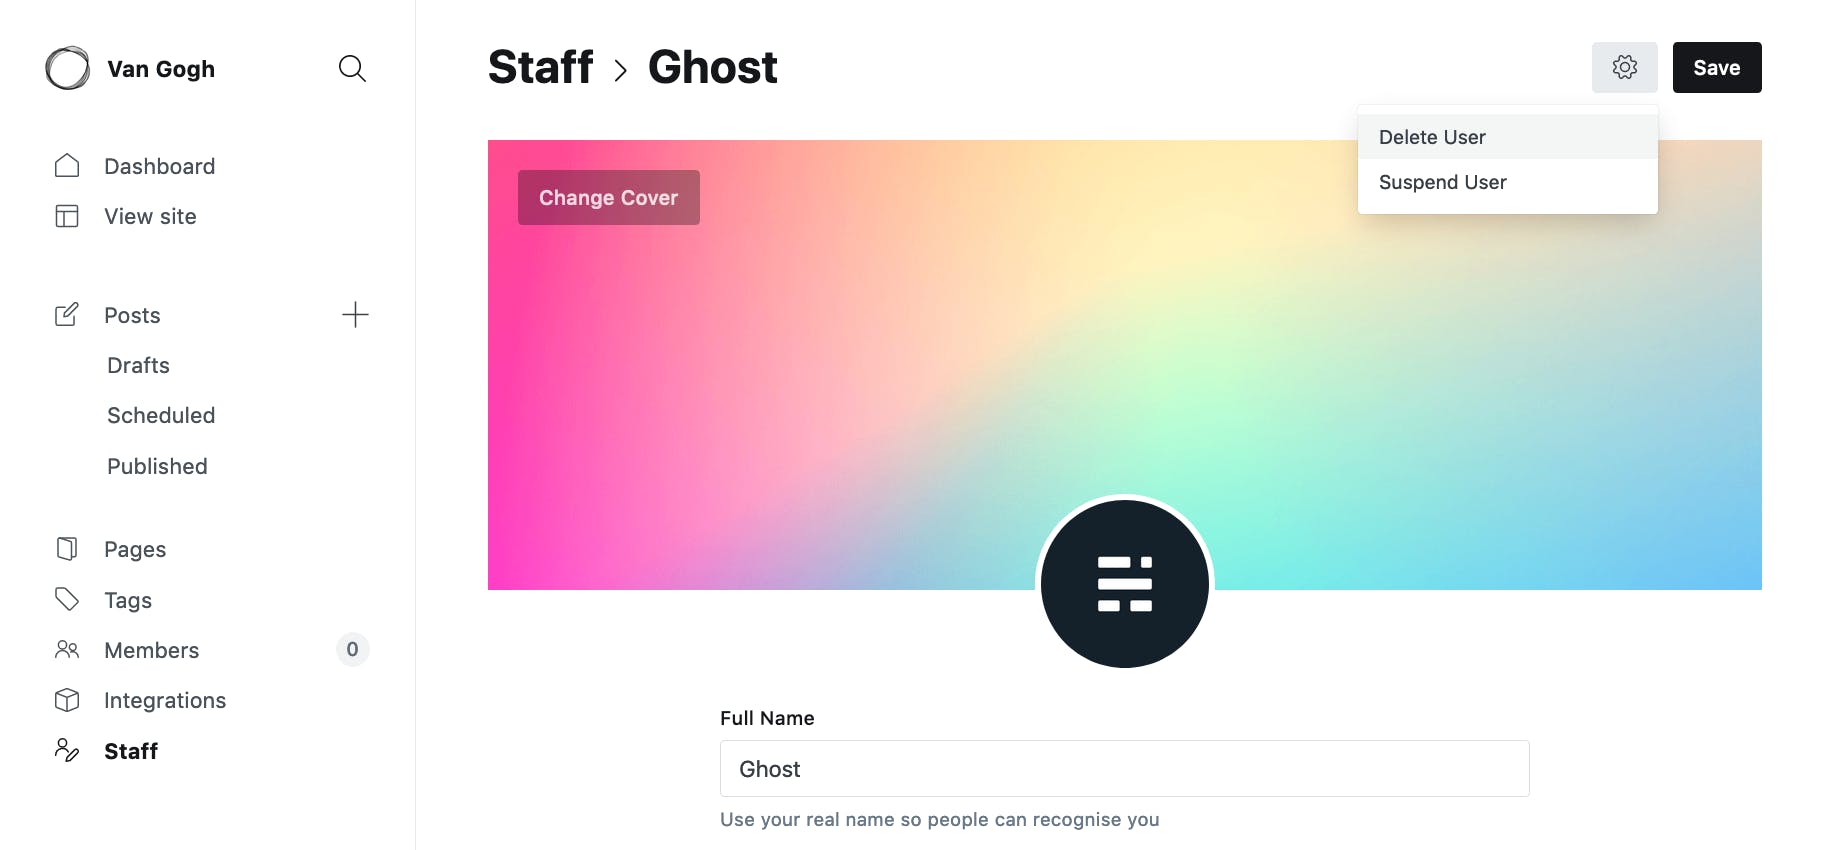
Navigate to the Staff section in the bottom left corner of the admin panel:
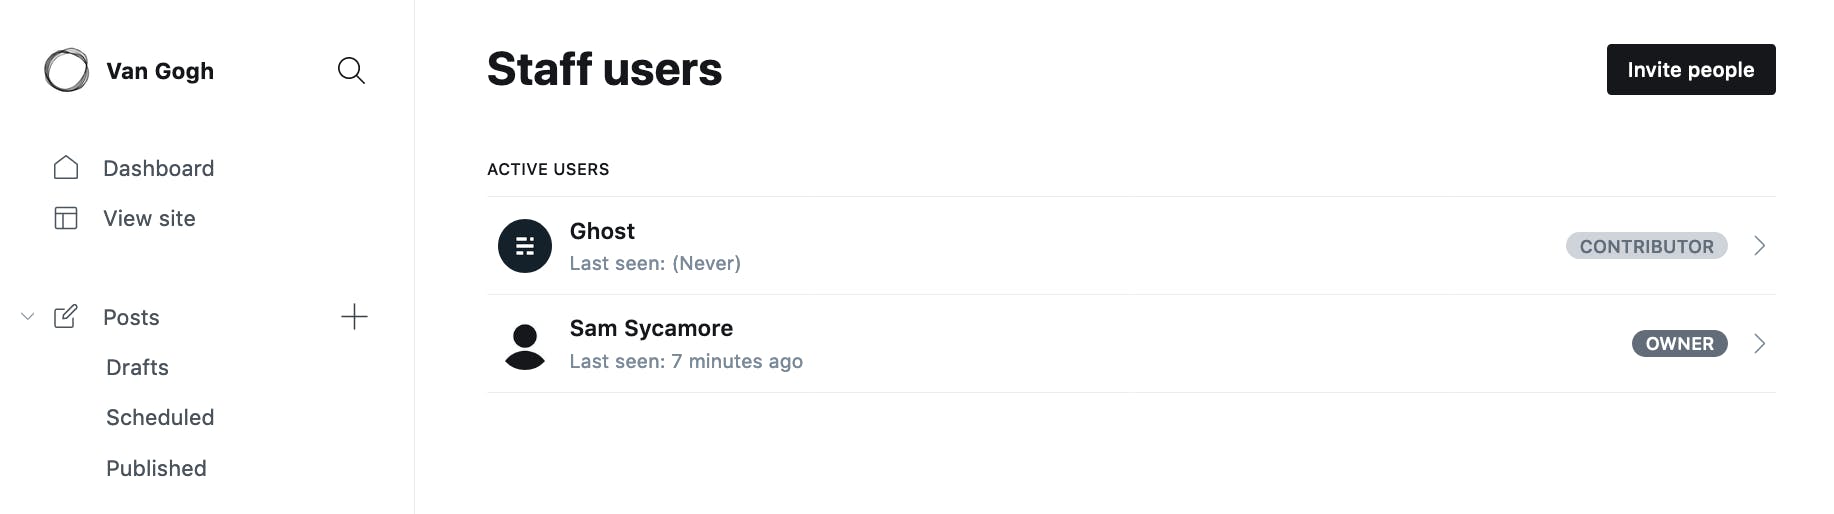
Click on 'Ghost' to visit the Author page.
In the top right corner, click the cog to open up the menu and select 'Delete User':
Now Ghost's posts are all gone, and you have a blank canvas on which to paint your next masterpiece!
Happy jamming, Jamstackers!!
If and when you improve on what I've built here, be sure to git at me on GitHub!
If you enjoyed this piece and you want to keep up with my work, you can sign up for my email newsletter through this link. I promise to make every email something you will be excited to open!